This shows how to open the login window files. It requires Apple's Developer Tools, which can be downloaded
here for free if you have a free developer account.
I don't completely understand how the login window elements work together, so anyone with more knowledge can chime in through comments and I'll update this post. I do know these steps have worked since Jaguar (10.2) with some tweaks to the file location and without the compiled .nib file errors introduced with Snow Leopard's spring cleaning.
I recommend making a backup of the original .nib file. That way, if you somehow mess up and the login screen will not let you in, you can alway start up in
Single User Mode and replace the copy with the backup. I also did all the changes through my root user so I didn't have to authenticate every change I made.
- Navigate to /System/Library/CoreServices/SecurityAgentPlugins/
- Right-click on loginwindow.bundle and choose "Show Package Contents".
- In the new window that opens, navigate to Contents/Resources/English.lproj/. If LoginWindowUI.nib shows as a folder, open and close Interface Builder, thus associating the .nib filetype.
- Open LoginWindowUI.nib and begin editing.
In Snow Leopard, the first time you do this, you will get the below error. Look
here for information on how to get around this.
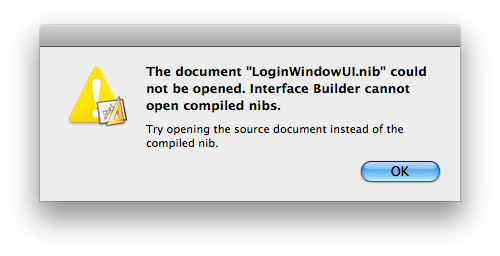 |
| "The document "LoginWindowUI.nib" could not be opened. Interface Builder cannot open compiled nibs. Try opening the source document instead of the compiled nib." |